iMac G4 as a DVI monitor
A few years ago I found an old iMac G4. It’s now over ten years old and these days PowerPC chips are not too useful. However it did have a very nice 20″ 1680×1050 IPS display in an attractive case.
If only I could connect this display to some other computer! I decided to try to hook it up to the Mac Pro I recently purchased from Atlassian.
I bit of web searching found the incredibly helpful dremeljunkie.com. I discovered that internally the iMac does use the same TMDS signalling as a DVI connector.
That means in theory I just have to hook everything up the right way and it will work! :)
Dremel Junkie
Dremel Junkie’s TMDS to DVI mod provided the pinouts and a general guide. He also wrote about the native PSU. Both of these were invaluable. However my requirements were a bit simpler than his projects, since I didn’t want the iMac to be a standalone computer. This did mean I had to figure out some things on my own.
I’ve stolen some of his images to display here for reference.
Finished product
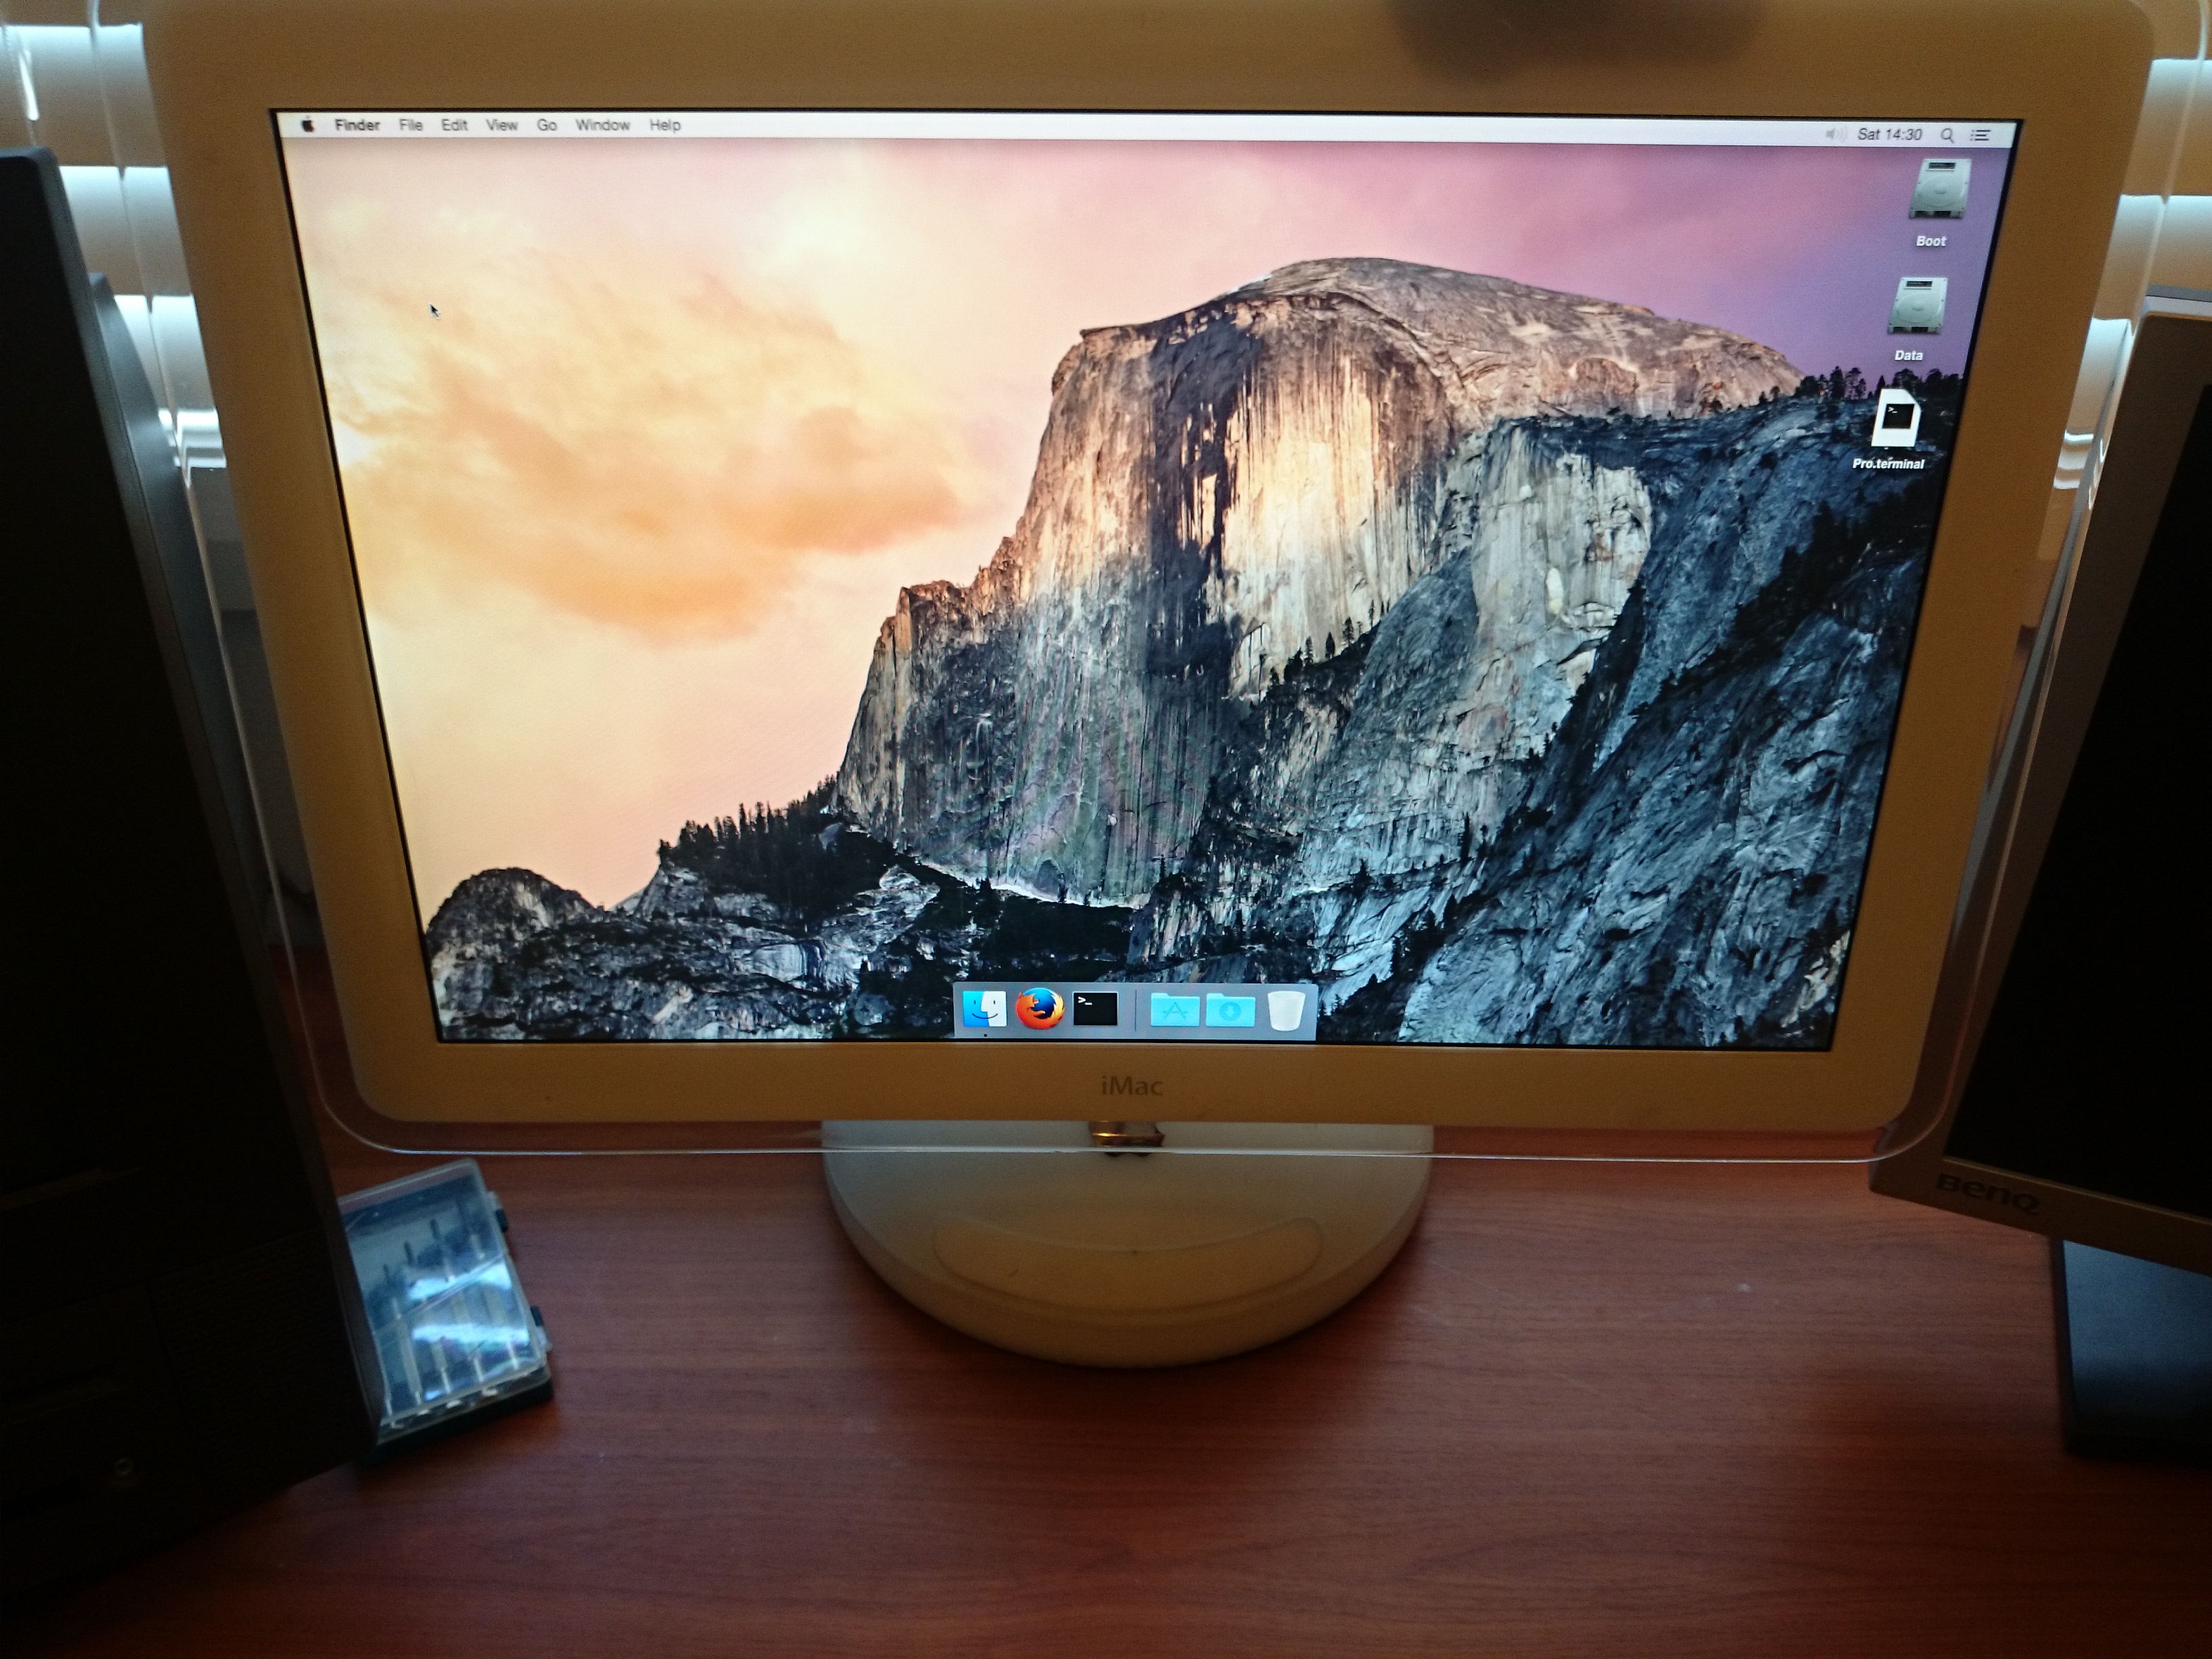
I got it to work! There’s not even any need for a power switch. The monitor automatically turns on when connected to the computer and goes off when the computer sleeps. The Mac Pro running Mac OS X 10.10 detects it as an “iMac Display”, which is great because it gets the correct colour profiles.
How I did it
Firstly I disassembled the dome base of the iMac. I disconnected everything that I could from the base of the dome. The only cables I left connected were the mains power going into the PSU, I didn’t want to mess with them. I removed the motherboard, hard drive and optical drive since they were not going to be useful for this project.
Power supply

The Power Supply Unit (PSU) has a custom connector which plugs into the motherboard. I cut the wires out of the connector and threw it and the molex plugs away. I then stripped the PSU wires. The PSU supplies 12V to the yellow wires as soon as it’s connected to mains power. In normal operation the motherboard would convert that 12V down to 5V and pass it back to the PSU, and onto any other part of the system which needs it. The 5V also turns on a 24V output in the PSU.
Fortunately DVI pin 14 provides a 5V from the source computer. I was able to connect this to the PSU to switch on the 24V output. It also gets fed back into the DVI connector on pin 16 to enable the source computer to detect the connection. Finally the 5V is again split off to the iMac display to switch it on. None of these draw significant current, which is good because the source computer probably doesn’t provide much current on that pin!
DVI signal
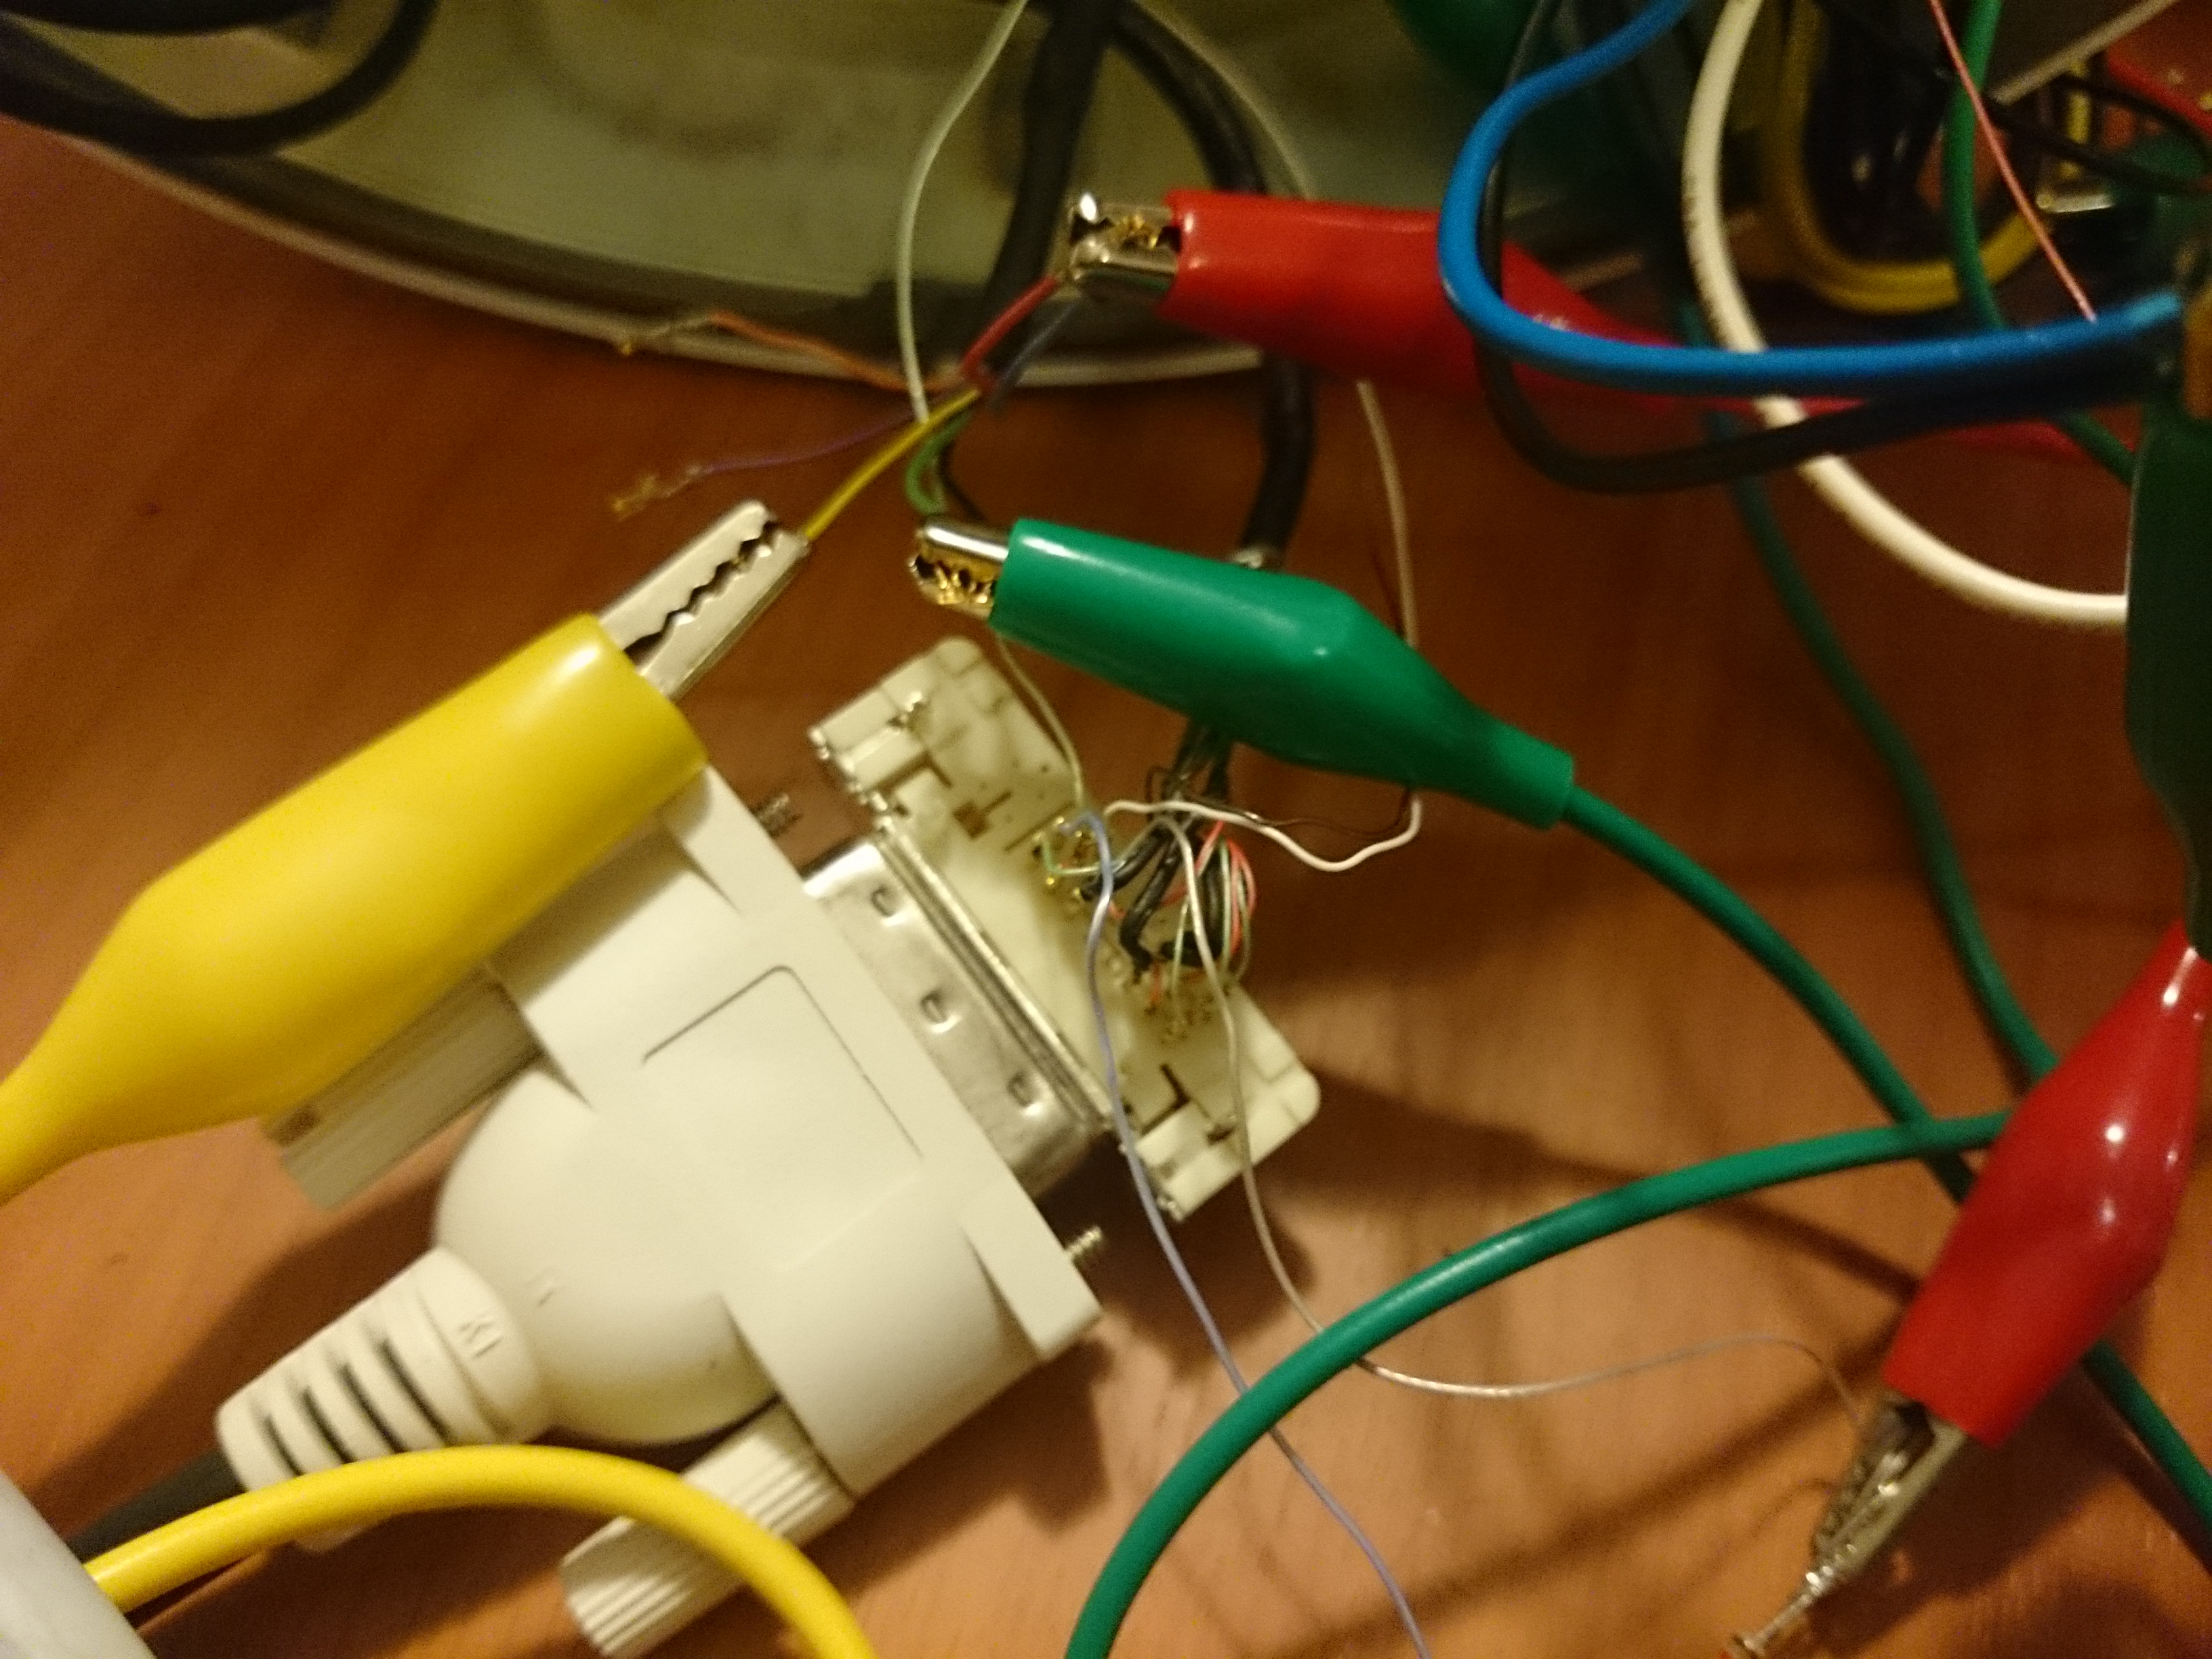
The first time around I hooked it all up with alligator clips to see if it worked. It didn’t, I had a few things hooked up wrong. After rechecking everything I got it to work the second time :)
I then soldered all the connections and wrapped the exposed wires with electrical tape. I’m not *that* good at soldering, so I used a hot glue gun to secure all the very tiny pins on the DVI connector.
The end
It looks really great and works perfectly. A very satisfying project :)
Thanks again to Dremel Junkie for the guide!
Other useful images
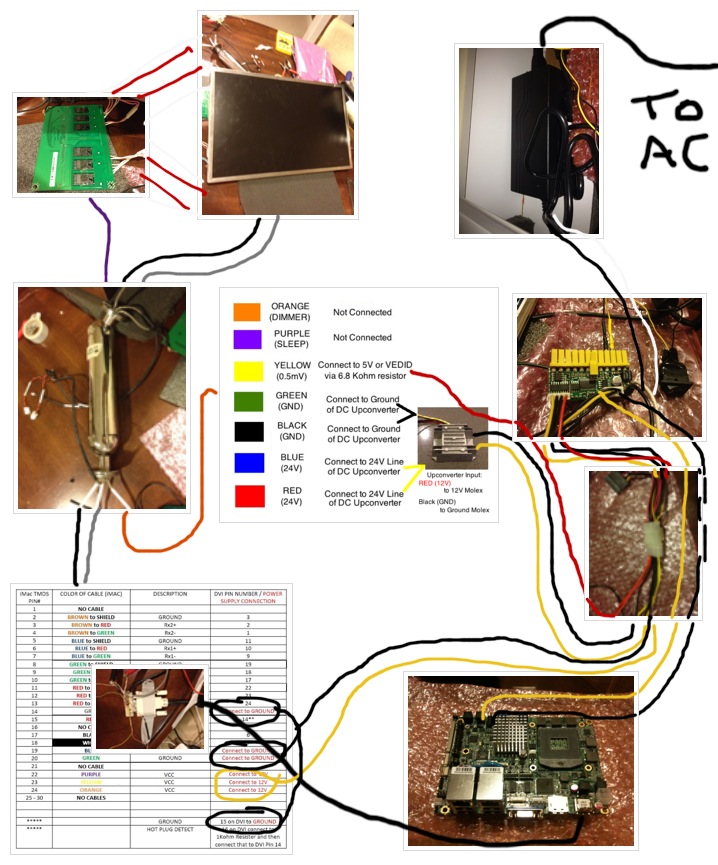
Connection overview
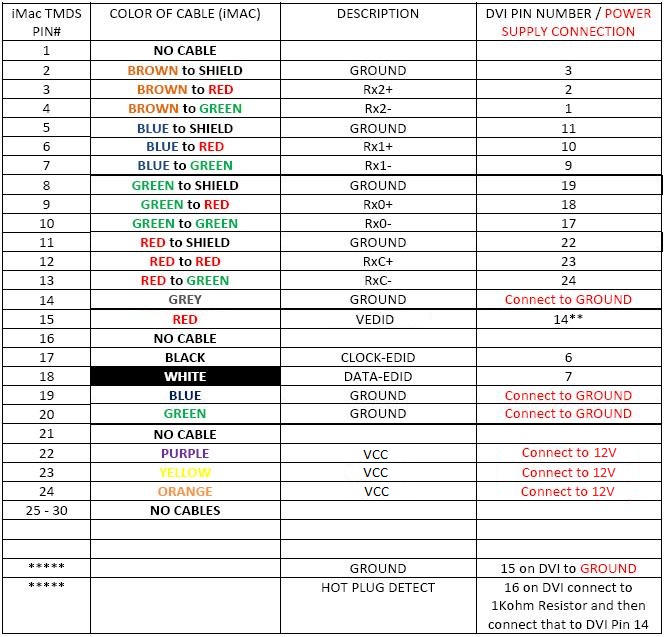
DVI pinout
Inverter pinout

I think that was very Clever.
Must admit to some bias . Well done my oldest Grandson.
Proud of you as always Gdad